No-Bake Chocolate Peanut Butter Crunch Cups have become one of my favorite recipes to keep on hand when my family needs a quick snack or a healthier sweet treat. As someone who is always looking for simple ways to provide more wholesome options at home, I love recipes that combine convenience, nutrition, and great flavor. These crunch cups check all those boxes. They come together quickly, require no baking, and use simple ingredients that I feel good about serving to my family.
One of the biggest challenges when it comes to snacks is finding options that are both satisfying and made with ingredients you can feel confident about. It’s easy to grab packaged snacks when life gets busy, but I enjoy having homemade alternatives available whenever possible. That’s one of the reasons these No-Bake Chocolate Peanut Butter Crunch Cups have become a staple in my kitchen. They offer the perfect balance of rich chocolate flavor, creamy peanut butter, satisfying crunch, and wholesome ingredients.
I especially love making these for busy weeks when everyone seems to be constantly on the go. Whether it’s a quick breakfast, an afternoon snack, or something to enjoy after dinner, these crunch cups are always a welcome option. Because they store well in the refrigerator, I can make a batch ahead of time and have them ready whenever we need a quick bite.
One thing I appreciate most about these No-Bake Chocolate Peanut Butter Crunch Cups is that they’re packed with ingredients that provide more than just sweetness. The peanut butter adds protein and healthy fats, helping make these treats more satisfying than many traditional desserts. Instead of a snack that leaves you hungry again shortly afterward, these offer a little staying power that helps keep everyone fueled throughout the day.
The ingredient list is another reason I continue coming back to this recipe. Everything is simple, familiar, and easy to find. When I make snacks for my family, I like knowing exactly what goes into them. Using clean, wholesome ingredients means I don’t have to worry about unnecessary additives or ingredients I can’t pronounce. It’s a simple way to create a treat that tastes indulgent while still fitting into a balanced lifestyle.
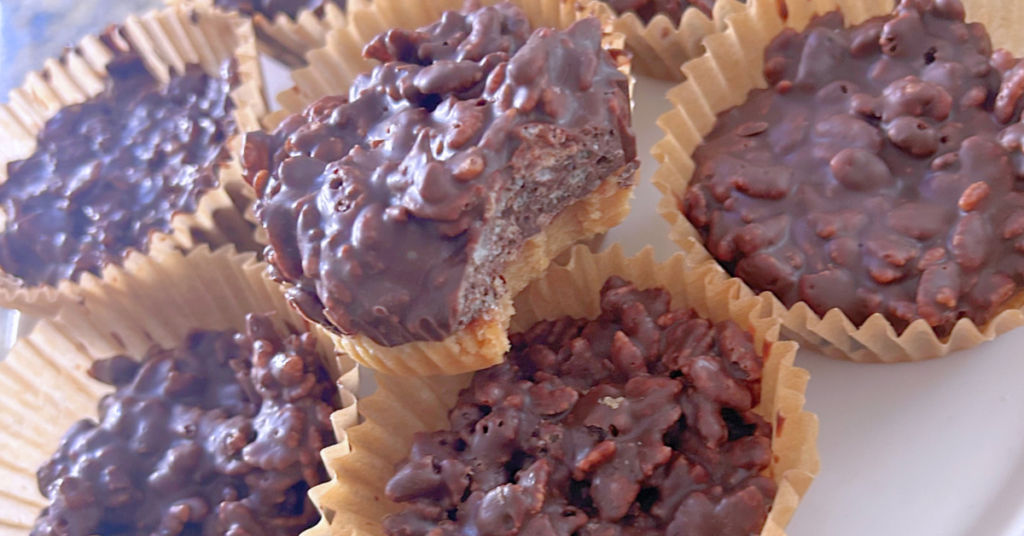
Of course, flavor is just as important as nutrition, and these No-Bake Chocolate Peanut Butter Crunch Cups certainly deliver. Chocolate and peanut butter have always been one of my favorite flavor combinations. The rich chocolate topping pairs perfectly with the creamy peanut butter base, while the crispy cereal adds an irresistible crunch that takes the texture to another level. Every bite offers a delicious contrast between smooth, crunchy, sweet, and chocolatey.
One of the things that makes this recipe especially practical is how quickly it comes together. Some desserts require multiple bowls, lengthy baking times, and complicated steps. These crunch cups are refreshingly simple. A few basic ingredients, minimal preparation, and a little chilling time are all that’s needed to create a snack that feels special.
Another reason I love these No-Bake Chocolate Peanut Butter Crunch Cups is their versatility. They work equally well as a quick breakfast, a post-workout snack, an afternoon pick-me-up, or a healthier dessert option. They’re also easy to pack for road trips, lunchboxes, or busy days when you know you’ll need something convenient to grab and go.
These crunch cups are also a great recipe for introducing children to homemade snacks. The flavors are familiar, the texture is fun, and they often disappear quickly whenever I make them. It’s one of those recipes that both kids and adults genuinely enjoy, which is always a win in my book.
If you love rich chocolate desserts, be sure to try my coconut cupcakes and vanilla bundt cake for more sweet treats. Both recipes offer delicious homemade flavors and make wonderful additions to any dessert table.
The no-bake aspect is another major advantage of this recipe. During warmer months, I appreciate being able to create something delicious without turning on the oven. Not only does it save time, but it also makes these crunch cups an excellent year-round option when you want a homemade treat with minimal effort.
What truly sets these No-Bake Chocolate Peanut Butter Crunch Cups apart is the balance they offer. They satisfy chocolate cravings while incorporating ingredients that contribute protein, texture, and nourishment. They feel indulgent enough to serve as dessert but practical enough to enjoy as an everyday snack.
Whether you’re meal prepping for the week, searching for healthier snack ideas, or simply looking for a quick chocolate fix, these No-Bake Chocolate Peanut Butter Crunch Cups are a recipe worth keeping on repeat. They are simple to make, packed with flavor, loaded with satisfying crunch, and made with wholesome ingredients that make snack time feel a little more intentional. Once you try them, there’s a good chance they’ll become a regular part of your family’s snack routine just as they have in mine.
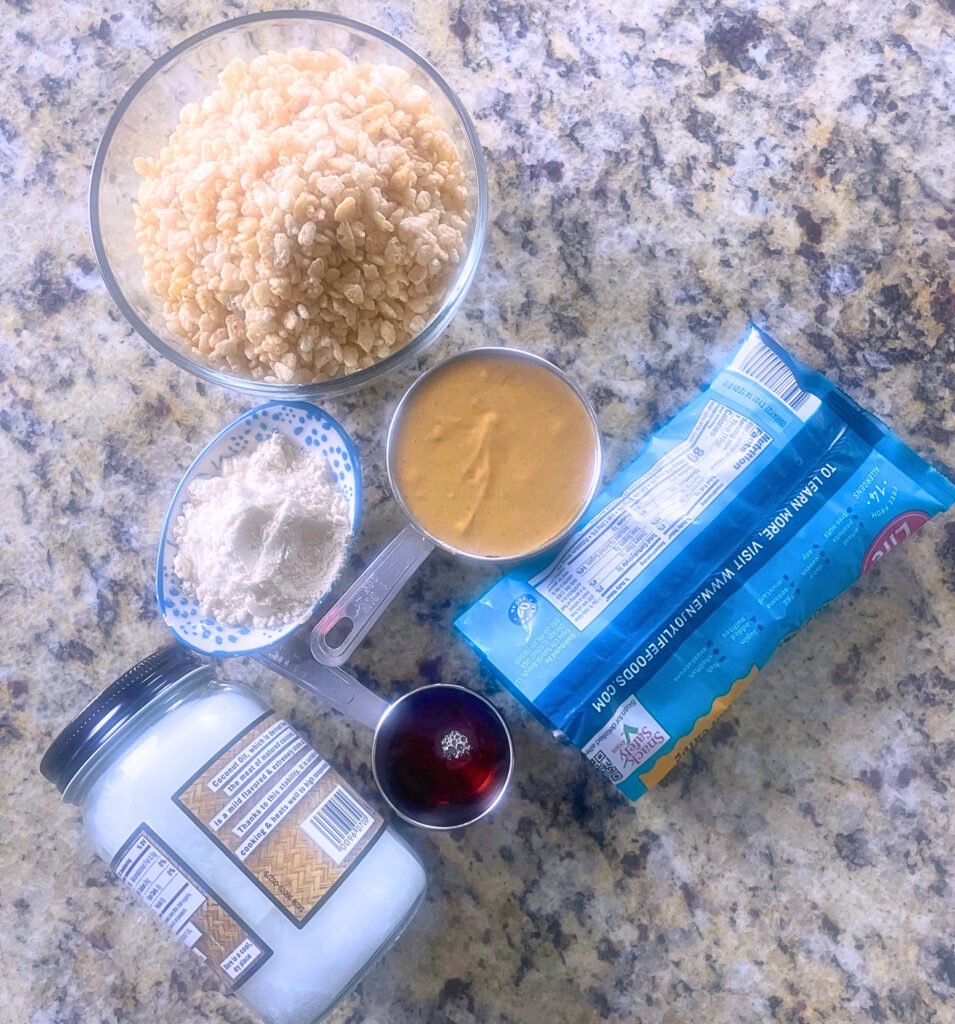
Notes on Ingredients
- Peanut Butter
Forms the base of the cups and provides a rich, creamy texture along with protein and flavor. - Maple Syrup
Naturally sweetens the peanut butter mixture and helps bind the ingredients together. - Coconut Flour
Thickens the peanut butter mixture into a dough-like consistency that holds its shape. - Chocolate Chips
Create the rich chocolate topping that pairs perfectly with the peanut butter base. - Coconut Oil
Helps melt the chocolate smoothly and gives it a glossy finish. - Crispy Rice Cereal
Adds a light, crunchy texture that makes these chocolate peanut butter crunch cups unique and satisfying.
How to Make Chocolate Peanut Butter Crunch Cups (Step-by-Step)
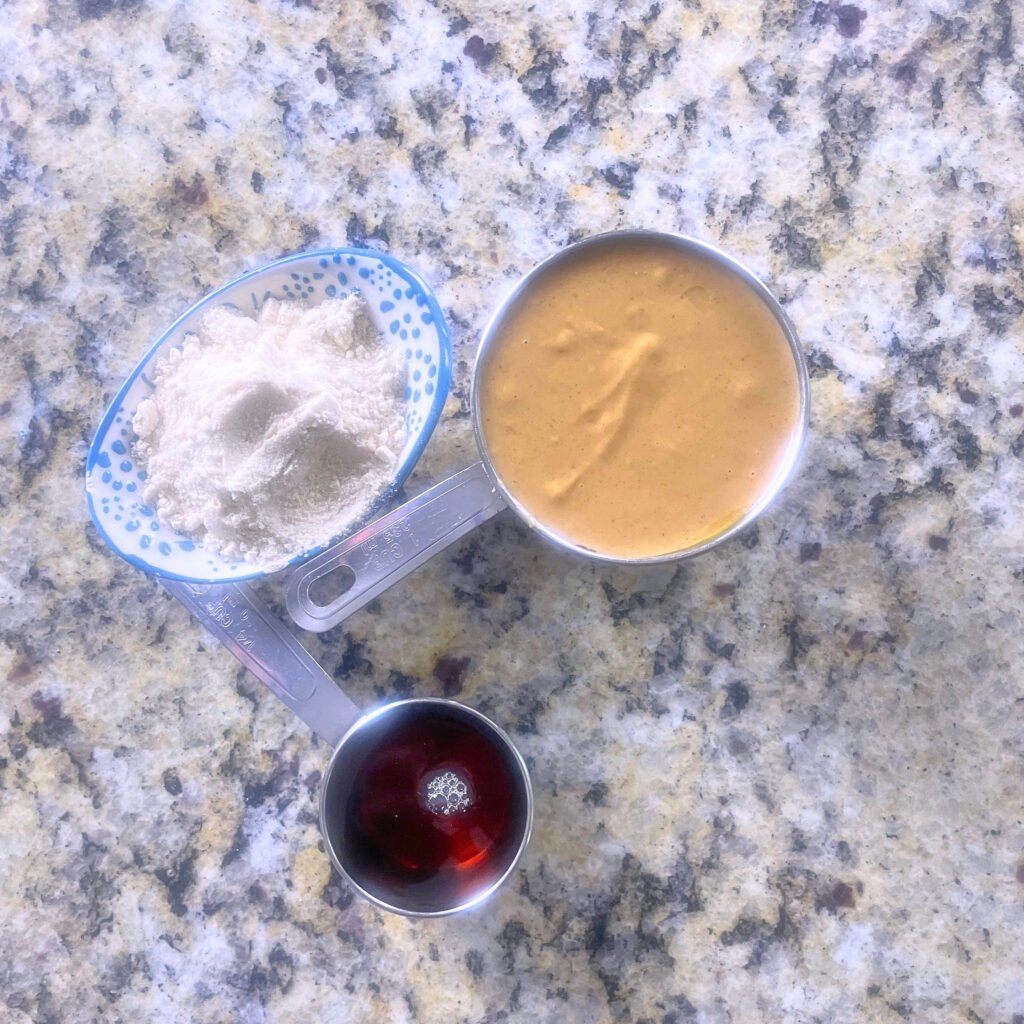
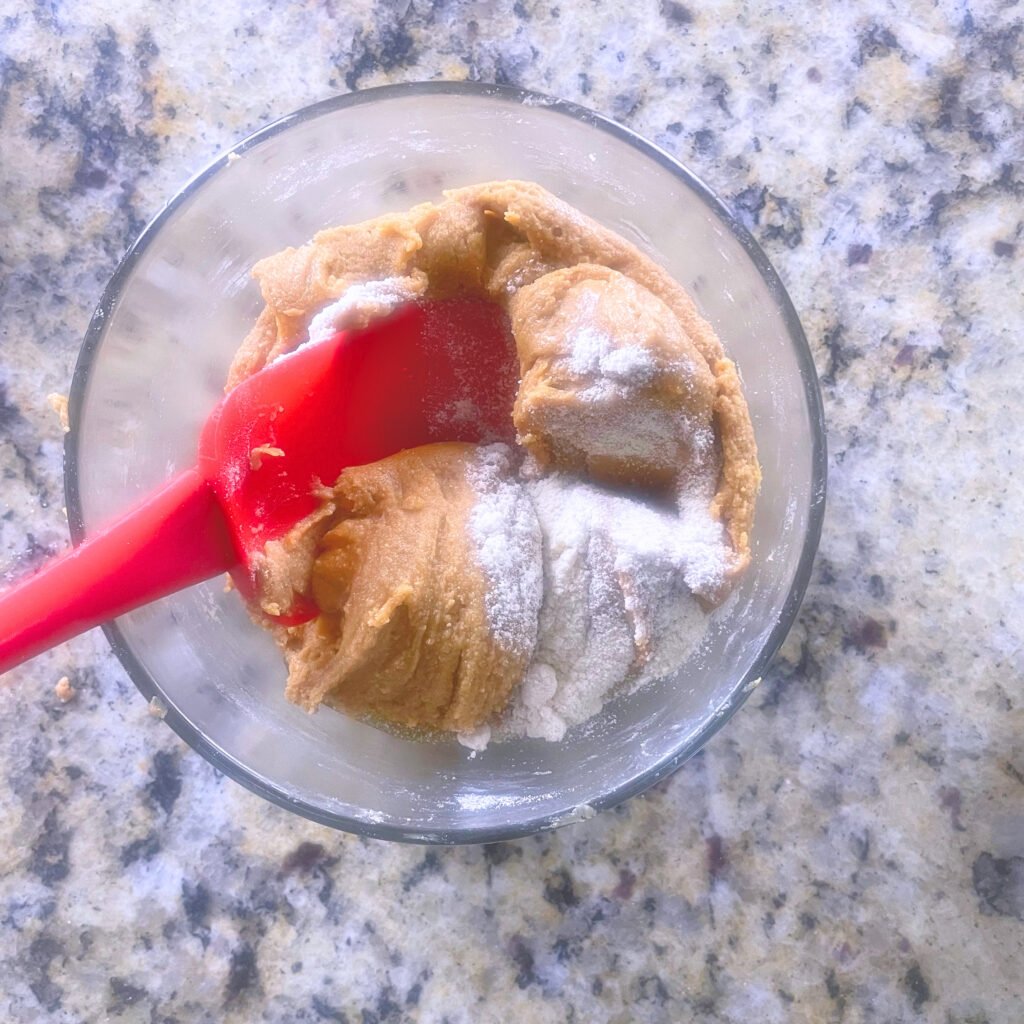
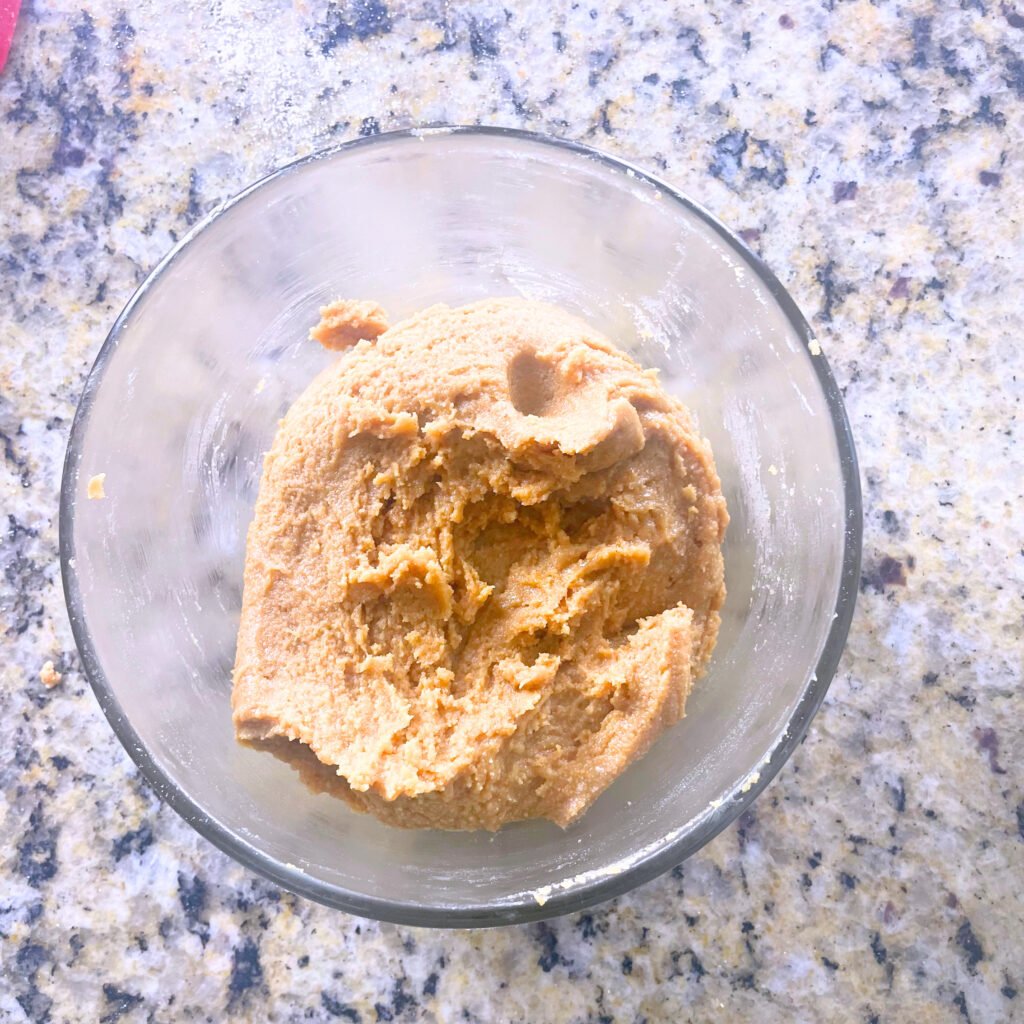
Prepare the Peanut Butter Base
In a mixing bowl, combine the peanut butter, maple syrup, and coconut flour. Start with a smaller amount of coconut flour and gradually add more as needed. Mix until the mixture becomes thick enough to pinch between your fingers and holds its shape.
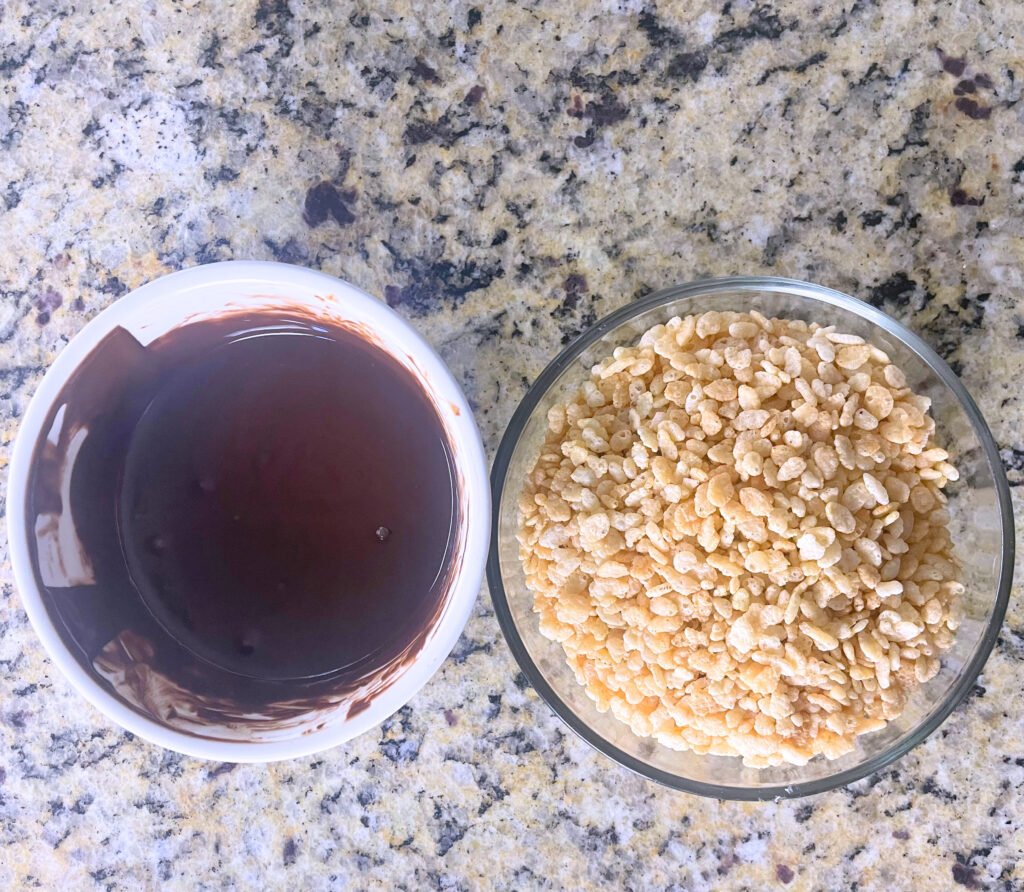
Melt the Chocolate
In a microwave-safe bowl, combine the chocolate chips and coconut oil. Heat in 30-second intervals, stirring between each, until the chocolate is fully melted and smooth.
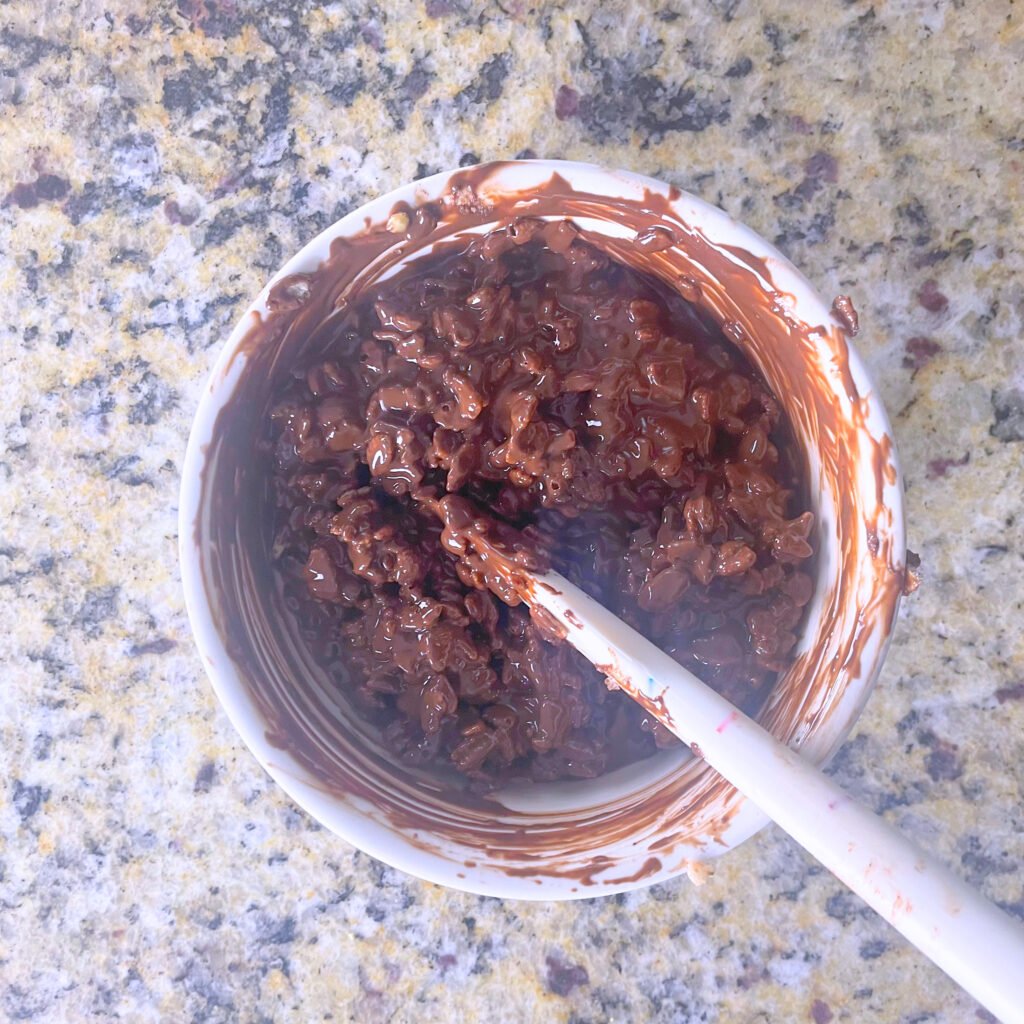
Add the Crunch
Fold the crispy rice cereal into the melted chocolate, making sure it is evenly coated.
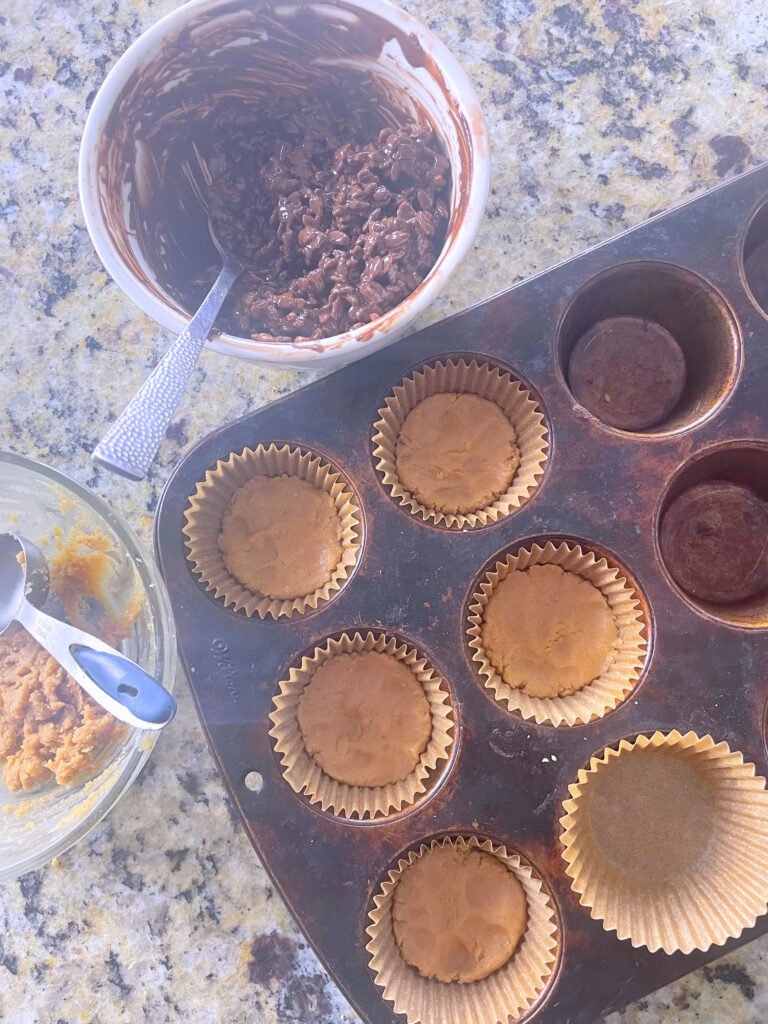
Assemble the Cups
Line a muffin pan with paper liners. Scoop about two tablespoons of the peanut butter mixture into each liner and press it down into a flat, even layer.
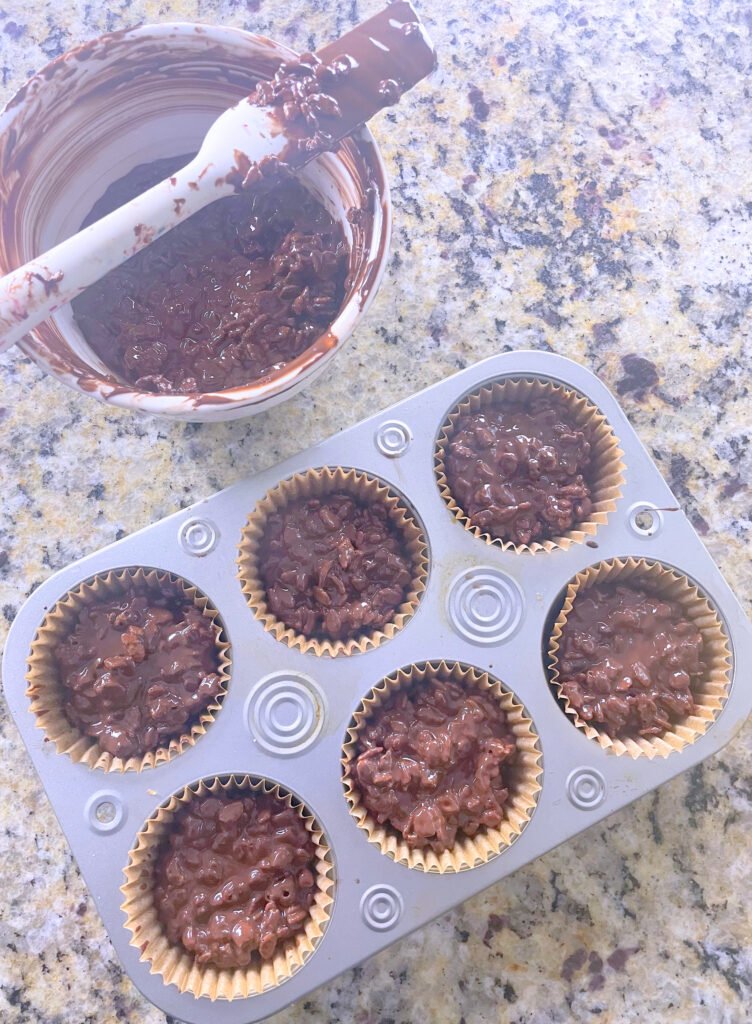
Top each cup with about two tablespoons of the chocolate cereal mixture, spreading it evenly over the peanut butter layer.
Watch how to assemble these chocolate peanut butter crunch cups step-by-step to get the perfect layers and texture.
Chill Until Set
Place the muffin pan in the refrigerator for up to three hours, or until the chocolate is firm and the peanut butter layer is set.
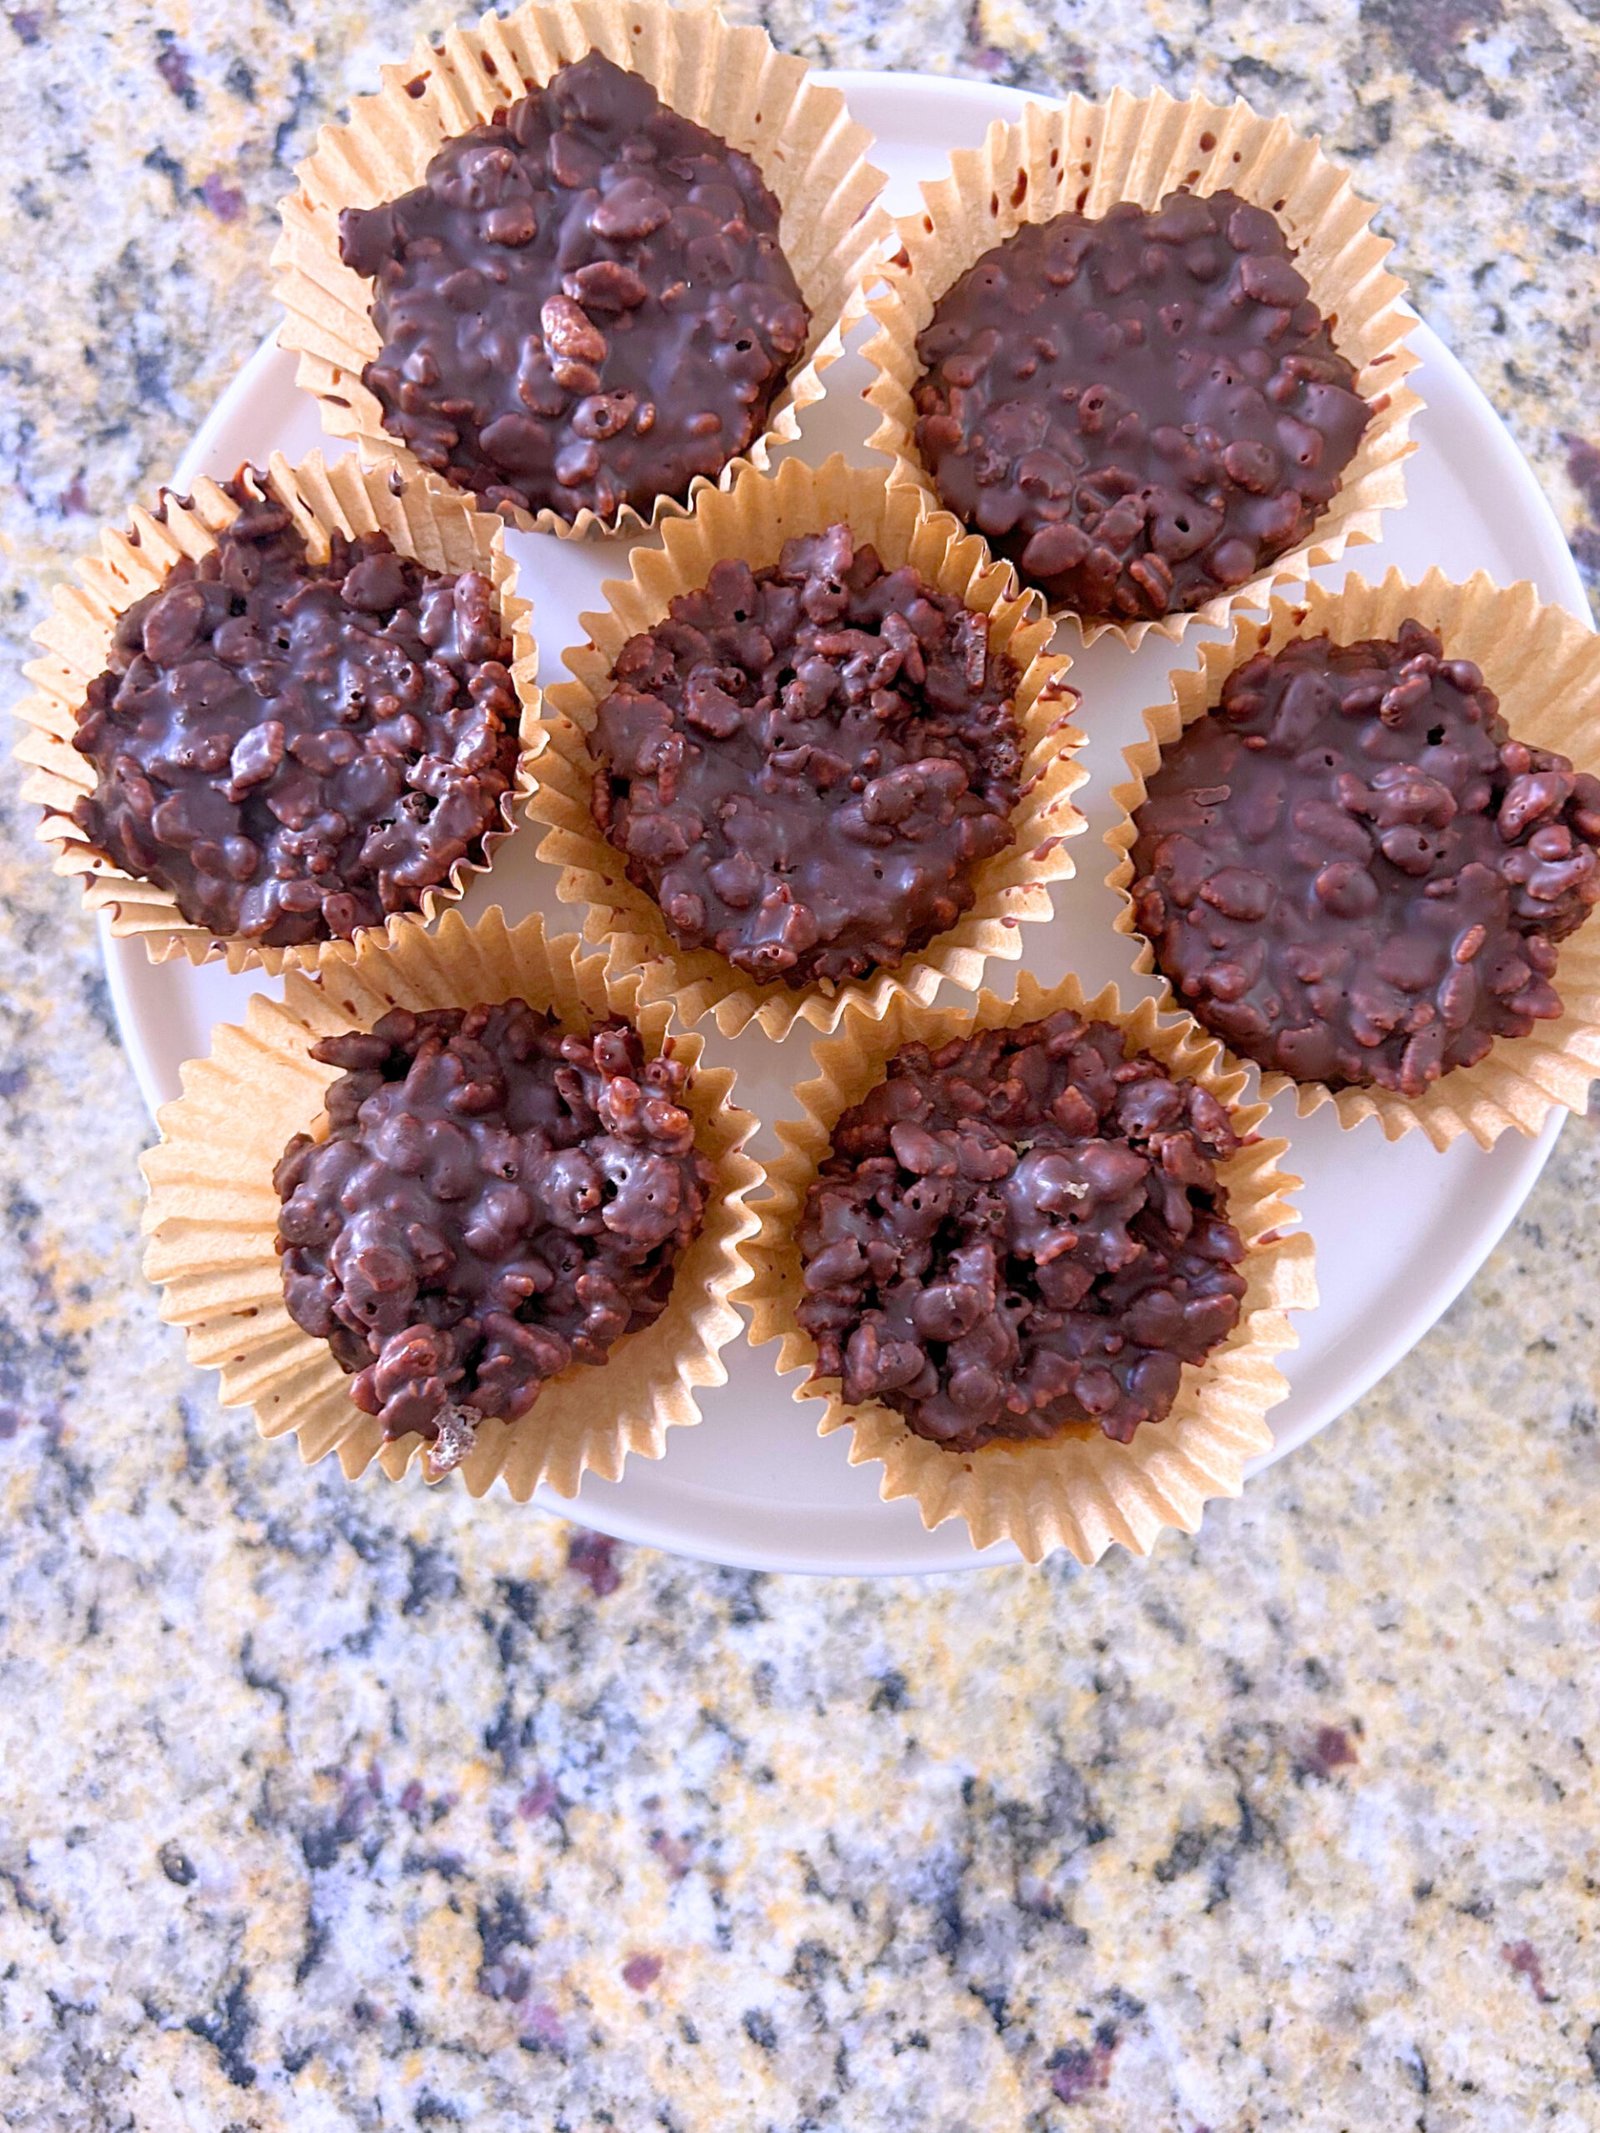
Serve and Enjoy
Once set, remove the cups from the liners and enjoy. These chocolate peanut butter crunch cups are best served chilled.
Substitutions and Variations
These chocolate peanut butter crunch cups are incredibly versatile. Here are a few ways to customize them:
Almond Butter Option
Swap peanut butter for almond butter or cashew butter for a different flavor profile.
Dark Chocolate Version
Use dark chocolate chips for a richer, less sweet taste.
Extra Crunch
Add chopped nuts or seeds for even more texture.
Protein Boost
Mix in a scoop of protein powder with the peanut butter layer.
Vegan-Friendly
Ensure your chocolate chips are dairy-free to keep this recipe fully vegan.
Frequently Asked Questions
Can I make No-Bake Chocolate Peanut Butter Crunch Cups ahead of time?
Yes! These cups are perfect for meal prep. Store them in an airtight container in the refrigerator for up to one week.
Are No-Bake Chocolate Peanut Butter Crunch Cups high in protein?
The peanut butter contributes protein and healthy fats, making these a more satisfying snack option than many traditional sweets.
Can I freeze Chocolate Peanut Butter Crunch Cups?
Absolutely. Freeze them in a freezer-safe container for up to 3 months. Allow them to thaw for a few minutes before enjoying.
Can I substitute the peanut butter?
Yes. Almond butter, cashew butter, or sunflower seed butter can all be used as alternatives depending on your dietary preferences and needs.
Chocolate Peanut Butter Crunch Cups
Ingredients
Equipment
Method
- In a bowl, mix peanut butter, maple syrup, and 2 tablespoons coconut flour.
- Add more coconut flour one tablespoon at a time until a thick dough forms.
- In a microwave-safe bowl, combine chocolate chips and coconut oil.
- Heat in 30-second intervals, stirring until melted and smooth.
- Fold crispy rice cereal into the melted chocolate.
- Line a muffin pan with paper liners.
- Add about 2 tablespoons of peanut butter mixture into each liner and press flat.
- Top with about 2 tablespoons of chocolate mixture and spread evenly.
- Refrigerate for up to 3 hours until set
- Remove from liners and serve chilled.
Notes
- Start with less coconut flour and add gradually to avoid a dry mixture.
- Use natural peanut butter for best flavor and texture.
- Stir chocolate between heating intervals to prevent burning.
- Keep cups refrigerated for best consistency.
- For easier removal, use parchment liners or silicone molds.
How to Store Chocolate Peanut Butter Crunch Cups
Store your chocolate peanut butter crunch cups in an airtight container in the refrigerator for up to 1 week. Keeping them chilled helps maintain their structure and texture.
For longer storage, place them in the freezer for up to 2 months. Allow them to sit at room temperature for a few minutes before eating for the best texture. These no bake crunch cups pair perfectly with classic desserts like my pecan tarts for an indulgent dessert spread.
Final Thoughts
These chocolate peanut butter crunch cups are proof that simple ingredients can create something incredibly delicious. With their creamy peanut butter base and crunchy chocolate topping, they strike the perfect balance of texture and flavor.
Whether you’re making them for a quick snack, meal prep, or a healthier dessert option, this recipe is easy, customizable, and always satisfying.
If you enjoyed this recipe, be sure to save it, share it, and explore more no-bake treats on the blog. There’s nothing better than a quick homemade dessert that everyone loves.
Enjoy every bite! 🍫🥜✨
🍰 You May Also Like
- Coconut Cupcakes
- Vanilla Bundt Cake
- Pecan Tarts
Hi, I’m Priscilla, a baking enthusiast and recipe creator sharing easy baking recipes, simple desserts, and beginner-friendly treats. At The Baking Enthusiast, I focus on creating reliable, step-by-step recipes using everyday ingredients to help you bake with confidence and enjoy the process.
I really love this recipe as a base. I am getting back into bodybuilding and this will help with my macros. I am curious, can peanut butter chocolate protein powder be added to this recipe? If so, would we need more wet ingredients?
Yes! you can absolutely add peanut butter chocolate protein powder to the recipe. Since protein powder tends to absorb moisture, i would try using more of coconut oil and possible adding some plant-based milk to reach your desired consistency. I hope this helps!